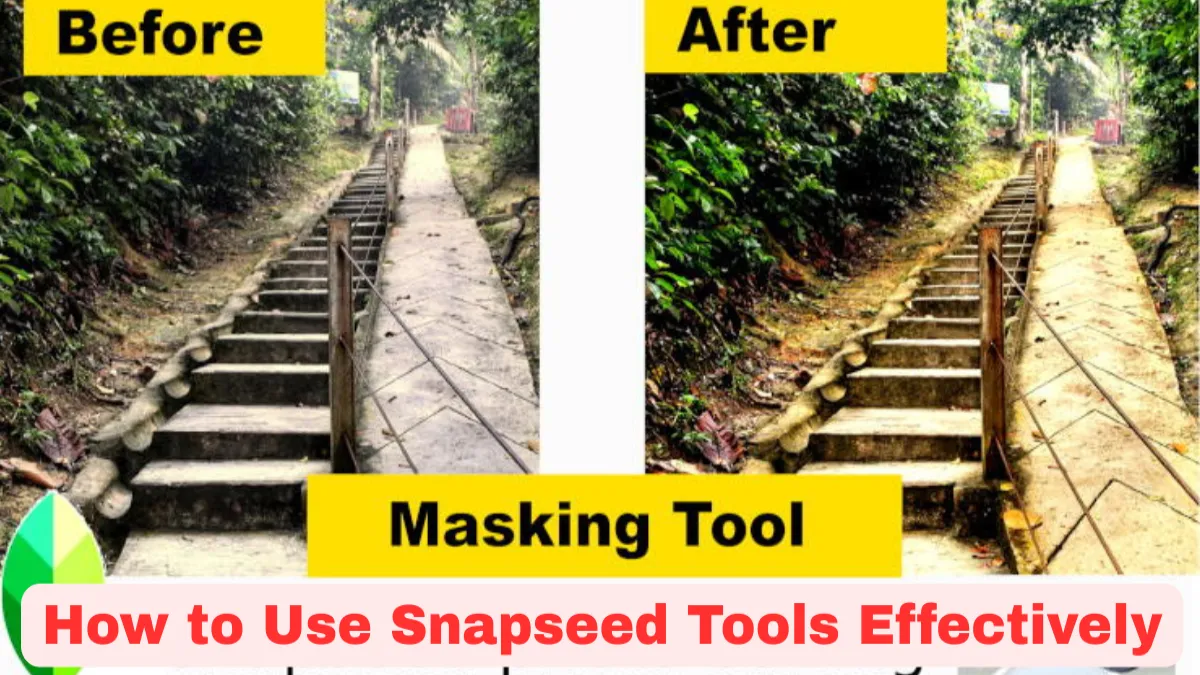
Snapseed, developed by Google, is one of the most powerful photo editing apps available for Android and iOS. Unlike many mobile editors that only offer basic filters, Snapseed comes with professional-level tools that can transform ordinary photos into stunning visuals. To get the most out of Snapseed, it’s essential to understand how each tool works and how to apply them effectively. In this guide, we will walk you through the best ways to use Snapseed tools for professional-quality photo editing.
Getting Started with Snapseed
Download Snapseed from the Google Play Store or Apple App Store, open the app, and import a photo you want to edit. The interface is clean and simple: at the bottom, you’ll see two main sections — Tools and Looks. While “Looks” are preset filters, the real magic happens inside Tools, which give you full control over editing.
Essential Snapseed Tools and How to Use Them
1. Tune Image
This is the foundation of photo editing in Snapseed.
- Brightness: Adjusts the overall light in the photo. Use it carefully to avoid overexposure.
- Contrast: Enhances the difference between light and dark areas. Increase slightly for more punch.
- Saturation: Boosts or reduces color intensity. Use moderately to keep colors natural.
- Ambiance: Balances exposure, contrast, and saturation in one slider — great for quick fixes.
- Highlights & Shadows: Recover lost details in bright or dark areas.
- Warmth: Adjusts the color tone from cool (blue) to warm (yellow). Perfect for setting the mood.
2. Details
This tool enhances textures and clarity.
- Structure: Adds depth and sharpness to surfaces and objects.
- Sharpening: Enhances fine details but should be used lightly to avoid noise.
3. Crop and Rotate
- Crop: Helps frame your subject better and remove distractions. Snapseed also provides aspect ratios for Instagram, YouTube, and more.
- Rotate: Straightens tilted horizons and adjusts perspective.
4. White Balance
Corrects unnatural color tones. If your photo looks too blue or yellow, use this tool to adjust the temperature and tint for more realistic colors.
5. Healing
This is Snapseed’s version of a spot remover. It’s perfect for eliminating blemishes, dust spots, or small unwanted objects from your image. Simply zoom in, tap, or brush over the distraction, and Snapseed will replace it with surrounding pixels.
6. Selective Tool
One of Snapseed’s most powerful features. It allows you to edit specific parts of a photo instead of the whole image.
- Tap on an area, choose a control point, and adjust brightness, contrast, saturation, or structure only for that region.
- Perfect for brightening faces, darkening skies, or highlighting details.
7. Brush Tool
This tool gives you manual control to paint adjustments onto your photo. Options include Dodge & Burn (lighten or darken), Exposure, Temperature, and Saturation. Use it for precise corrections like highlighting eyes or adding warmth to only certain areas.
8. Portrait Tool
Designed specifically for editing faces.
- Enhances skin smoothness while keeping details natural.
- Brightens eyes and adjusts face lighting.
- Works best for selfies and portrait shots.
9. Lens Blur
Simulates DSLR-style background blur (bokeh). You can adjust the blur strength, transition, and vignette to make your subject pop.
10. HDR Scape
Adds high dynamic range effects to make photos look more dramatic. Best used for landscapes, but adjust carefully — too much can make images look artificial.
11. Double Exposure
Lets you blend two photos together. Adjust opacity and blending modes to create artistic effects like overlays, silhouettes, or dreamy compositions.
12. Text and Frames
- Text: Add stylish captions or watermarks with customizable fonts and colors.
- Frames: Simple borders that help your photo stand out on social media.
Tips for Effective Editing in Snapseed
- Always start with Tune Image before applying advanced tools.
- Use Selective and Brush tools for fine-tuning specific areas.
- Don’t overdo saturation or sharpening — subtle edits look more professional.
- Combine HDR Scape and Lens Blur for eye-catching landscape shots.
- Save your edits as a stack so you can re-edit or undo adjustments anytime.
Exporting Your Edited Photo
Once satisfied with your edits, tap Export. Snapseed offers three options:
- Save: Saves changes directly to the original photo.
- Save a Copy: Keeps the original photo and creates a new edited file.
- Export: Creates a permanent new file with edits applied.


